 Degchi
Smooth Hummus at Home: Why Yours Is Grainy
Homemade hummus that feels like wet sand
You blend it for five minutes and it still has a gritty, heavy texture. The shop tub, in comparison, is pale and almost whipped. The difference is not a secret ingredient. It comes down to chickpea skins, the order you blend in, and the temperature of the water.
Our hummus recipe is built around those three things. It uses 400 g (14 oz) of cooked or tinned chickpeas, 4 tbsp of tahini, 1 lemon, 2 cloves of garlic, 3 tbsp of olive oil and salt. It serves 4, takes 10 minutes of prep and about 15 of cooking if you soften the chickpeas.
Step one: soften the skins
Drain and rinse the chickpeas and set a few aside for garnish. For the rest, the recipe says to simmer them with half a teaspoon of baking soda for 15 minutes, then drain. The baking soda makes the water more alkaline, and the skins and flesh soften faster, so the blender has less to fight.
With tinned chickpeas this step is optional, but it is what separates fine from silky. Warm chickpeas also blend smoother than cold ones from the fridge. You can go further and slip the skins off by hand, but that is slow and our recipe does not require it.
Starting from dried chickpeas adds a soak and a long simmer first. The recipe data gives no dried-bean timing, so we only quote the tinned route here.
Step two: whip the tahini first
This is the order most people reverse. Blend the tahini, lemon juice, garlic and salt together for 1 minute until pale and thick, before the chickpeas go in. The mix tightens and lightens, and the finished hummus ends up creamier.
If you drop everything in at once, the tahini sits in clumps and the garlic stays coarse. A minute of blending at the start costs nothing.
Step three: ice-cold water, added slowly
Add the warm chickpeas and blend for 2 to 3 minutes, scraping down the sides. With the machine running, drizzle in 3 to 5 tbsp of ice-cold water until the hummus looks light and fluffy. Stop when it does. The tip in our recipe is blunt: ice-cold water is the trick to a whipped, pale hummus.
More water does not mean more smooth. Past a point it becomes a loose, watery dip that slides off the bread. Add a tablespoon at a time and look at the surface between additions.
A quick diagnosis table
| Problem | Likely cause | Fix |
|---|---|---|
| Gritty or grainy | Skins not softened | Simmer chickpeas with baking soda, blend 3 minutes |
| Thick, pasty | Too little water | Add ice-cold water 1 tbsp at a time |
| Bitter | Poor tahini or too much raw garlic | Taste the tahini alone; use 1 clove less garlic |
| Too sharp | Lemon too strong | Add 1 tbsp tahini or a splash of oil |
| Flat | Not enough salt or lemon | Add salt first, then lemon |
<!-- VERIFY: the bitterness causes and fixes in this table are general cooking advice, not from our recipe data. -->
Tahini quality matters more than people expect. Taste a little straight from the jar: if it is bitter on its own, the hummus will be too. Our recipe suggests 4 tbsp for 400 g of chickpeas as a balanced start, with more if you like it nuttier.
Plating, the 30-second part
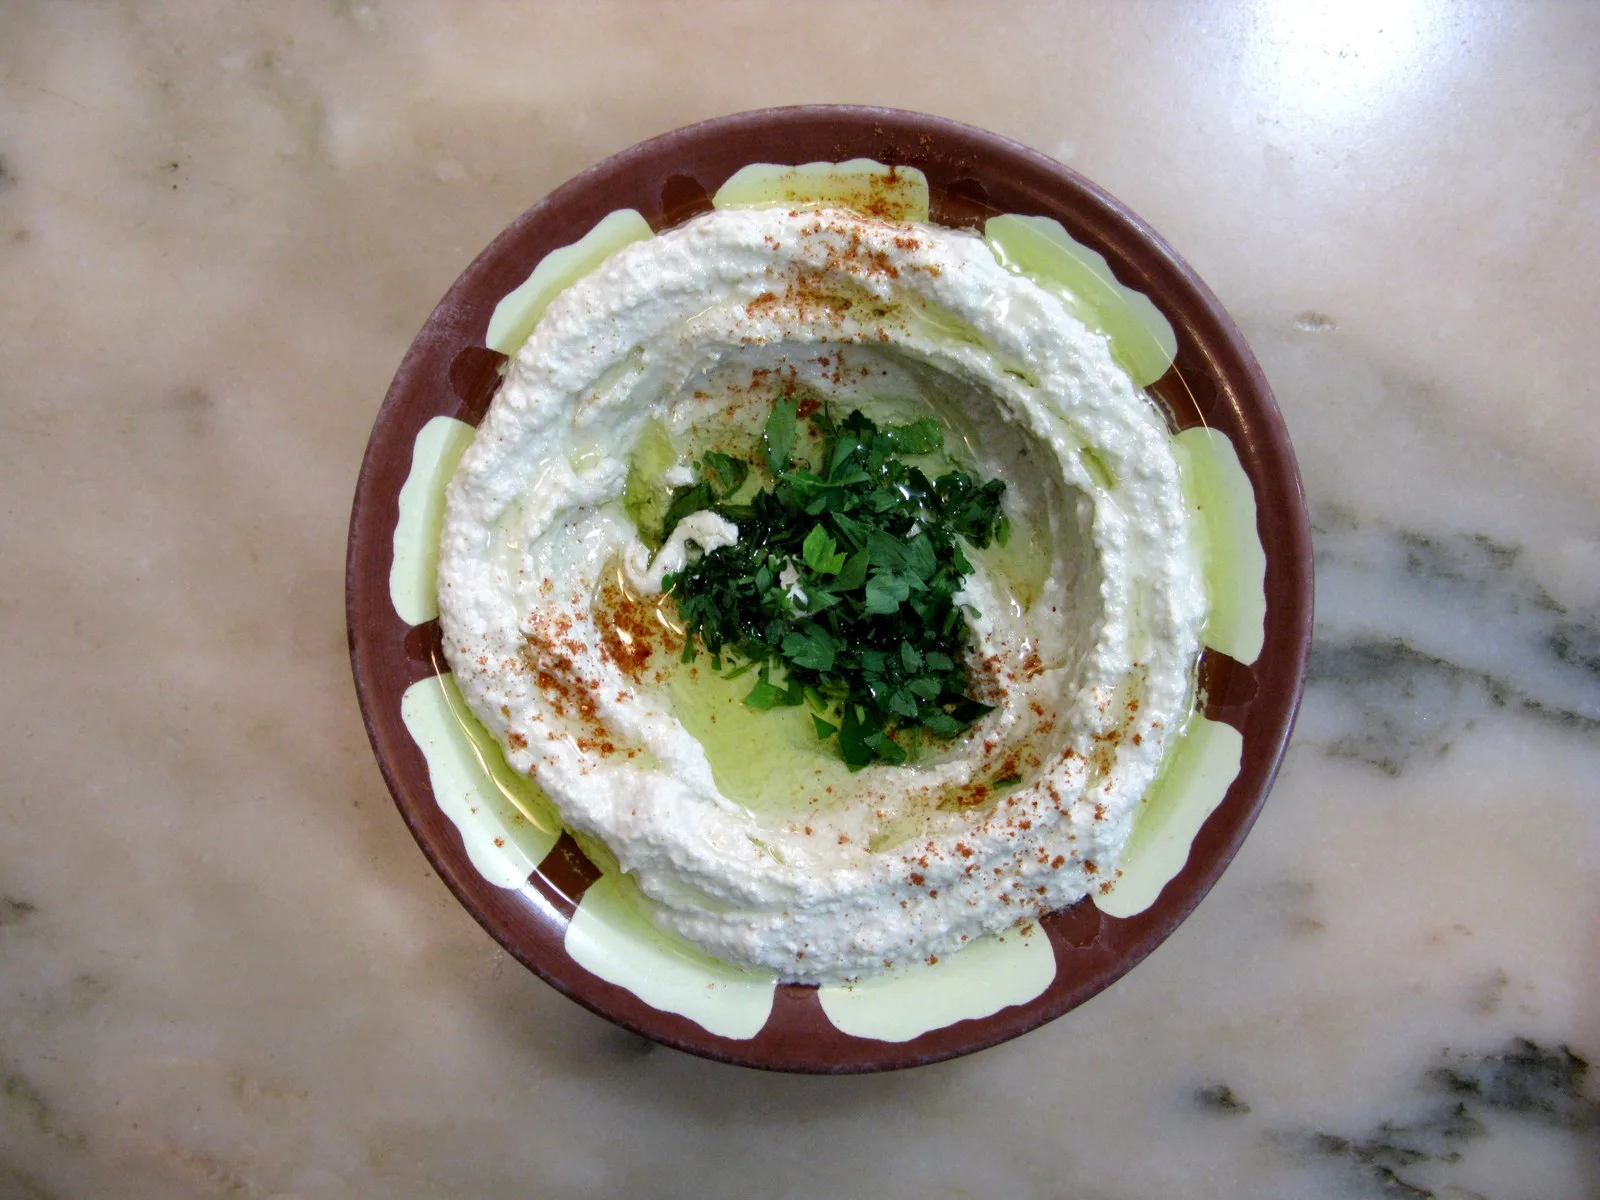
Spread the hummus onto a plate and swirl the surface with the back of a spoon. Pour the olive oil into the swirl, then scatter the reserved chickpeas and a dusting of paprika. That is the whole garnish. The well holds the oil so each scoop picks up a little.
What to serve it with
Warm flatbread is the classic. A fresh khubz tannour is lovely, and a pita or chapati works fine. Raw cucumber, carrot and radish are the lighter option.
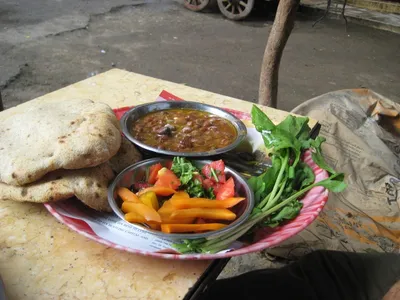
Hummus also anchors a small mezze night: our mezze night post lays out the menu and what can be made a day ahead. A bowl of ful medames next to it makes the same pantry beans work as breakfast.
Blender or food processor
A food processor makes a slightly coarser, more rustic hummus, and a high-speed blender makes a finer one. Either works with the method above. In a food processor, run it longer than you think, closer to 4 minutes, and stop twice to scrape the bowl. In a small blender, work in two batches so the blades can actually reach the chickpeas rather than spinning in an air pocket.
Whichever you use, the machine will warm the mix a little as it runs. That is fine, but it is another reason the water should be ice-cold: it pulls the temperature back down and keeps the colour pale.
<!-- VERIFY: the 4 minute food processor time is a rule of thumb, not from our recipe data. -->
Flavour variations that do not break the texture
Once the base works, small changes are safe. A roasted red pepper added with the chickpeas gives colour and sweetness; a spoon of ground cumin adds an earthy edge; a pinch of chilli flakes on top gives heat. Add wet ingredients in small amounts and reduce the ice water to match, so the texture stays whipped rather than runny.
Storing it
Cover with a thin layer of olive oil and keep it in the fridge. As a general guide, homemade hummus without preservatives is best eaten within 3 to 4 days.
<!-- VERIFY: the 3 to 4 day fridge limit is a common home-kitchen rule of thumb, not from our recipe data. -->
Take it out 15 minutes before serving; cold hummus tastes muted. It thickens in the fridge, so stir in 1 tsp of cold water and the texture comes back.
A short shopping list for the first batch
- Chickpeas: 1 tin of 400 g (14 oz).
- Tahini: 1 small jar, smooth rather than hard at the bottom.
- 1 lemon and 1 head of garlic.
- Olive oil and paprika.
- Baking soda, which you almost certainly have.
To see whether your cupboard already covers most of that, the pantry check at degchi.matrixinn.net/#try lets you tick what you have and see which recipes light up.
Related recipes


Related posts

Leftover Cooked Chickpeas: What to Make With Half a Pot
You soaked and boiled the whole bag and now there is a lot left. Storage rules, freezing, and four dishes from our recipes that turn leftover chickpeas into dinner.
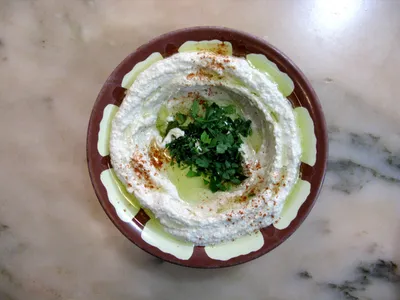
How to Host a Mezze Night at Home
A mezze spread looks impressive and is mostly made ahead. Here is a menu from our library, a timeline, and what to cook on the day.
What Can I Cook With Chickpeas? 7 Dishes, Dried or Tinned
A tin or a bag of chickpeas can become a curry, a salad, a dip or a street snack. Seven dishes from our recipes, which ones work with tinned and which need dried.